

- Wrapped to gift
- Handmade with love
- Card Payments Accepted
- FREE UK Delivery
let’s get crafty
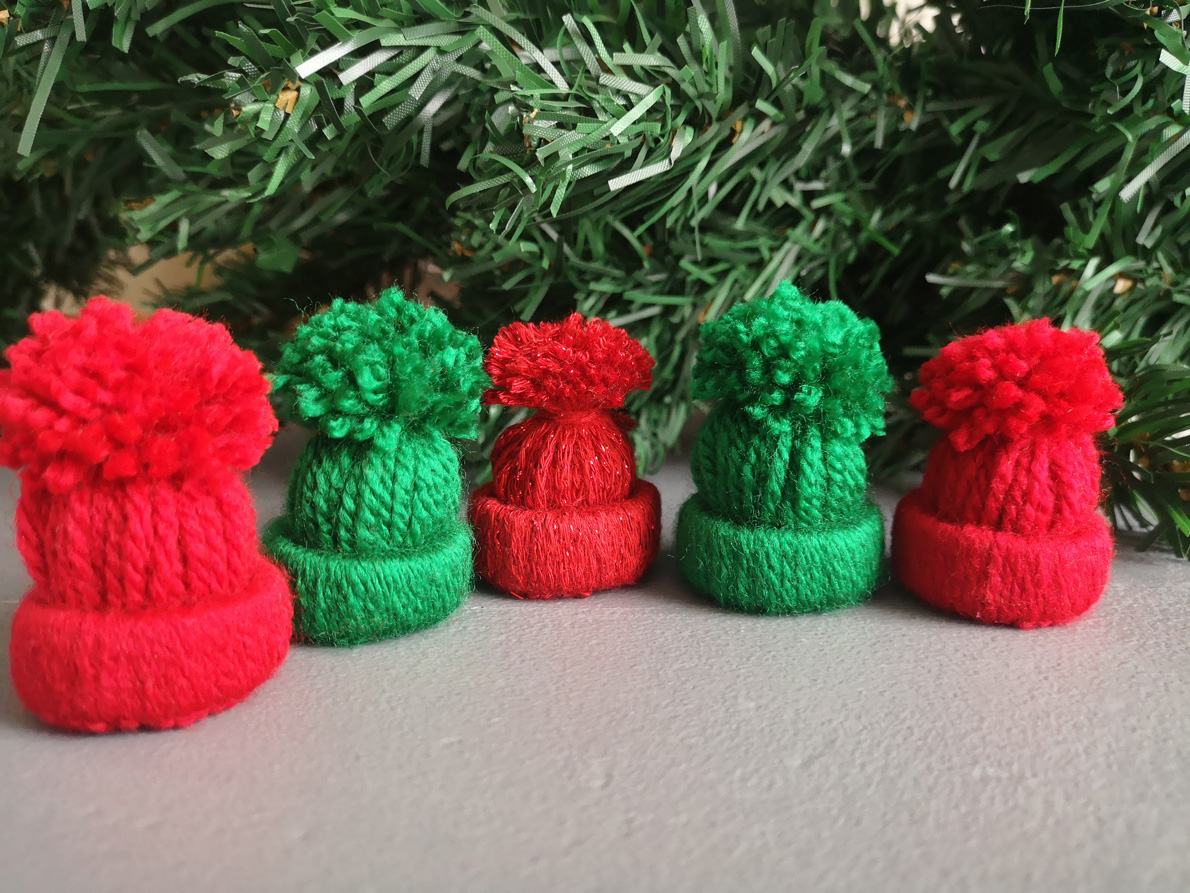
Christmas hat or is it a wizards hat? It’s for you to choose! Which ever one you need the instructions for how to make one are just a scroll away.

Christmas preparation is never too early!
Today I want to show you how to make the sweetest Christmas hats ever, that do not take hours to make, rather minutes! So, we could save more time for our beloved ones. ❤️
These little hats can be used to decorate your Christmas Tree, as a nice decoration for your gift wrapping, or simply place it on the mantlepiece, far from your pets. Or even as toys for your little ones and pets! 🐈 👼
Furthermore, you can even make decorative garlands by simple tying the hats together. I hate throwing stuff away, thus I always find a way to use items over and over again. For the hats I use cardboard rolls from toilet paper, kitchen foil or greaseproof paper, you could also use the left over thread from previous inventions, that fits this purpose perfectly!
Let’s begin
We will need:
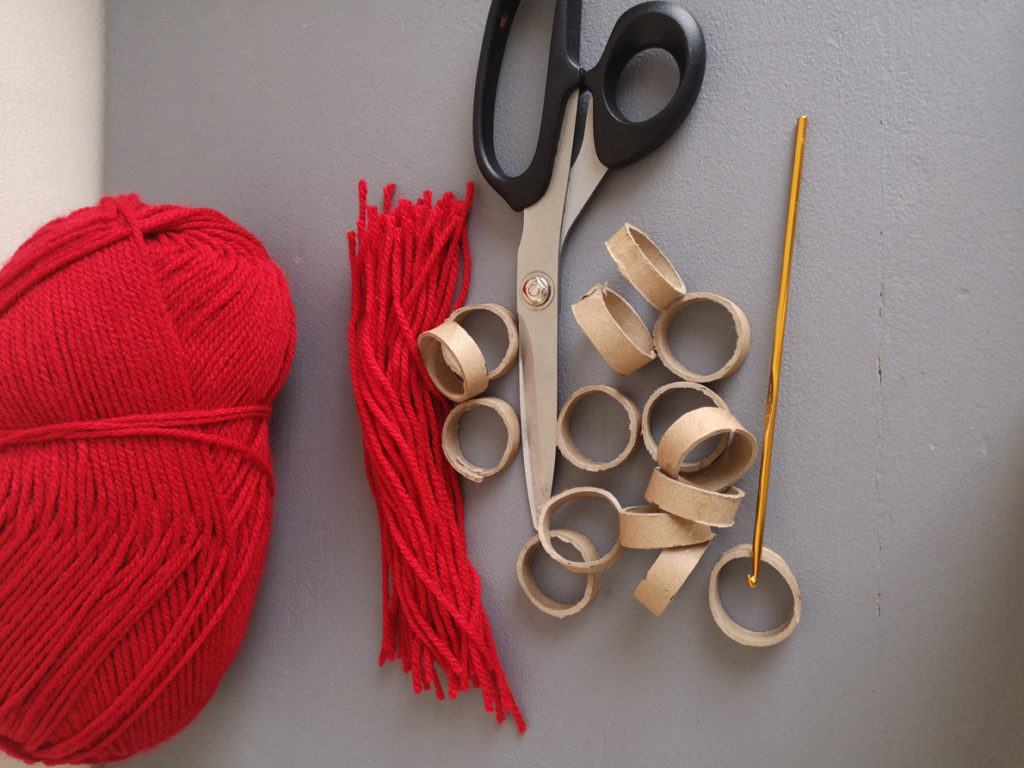
Step 1
Cut your cardboard roll in 1cm wide rings, which will make the finished hat about 4cm, the wider you make them the taller the hat will be! (could even make a Merlin hat!).

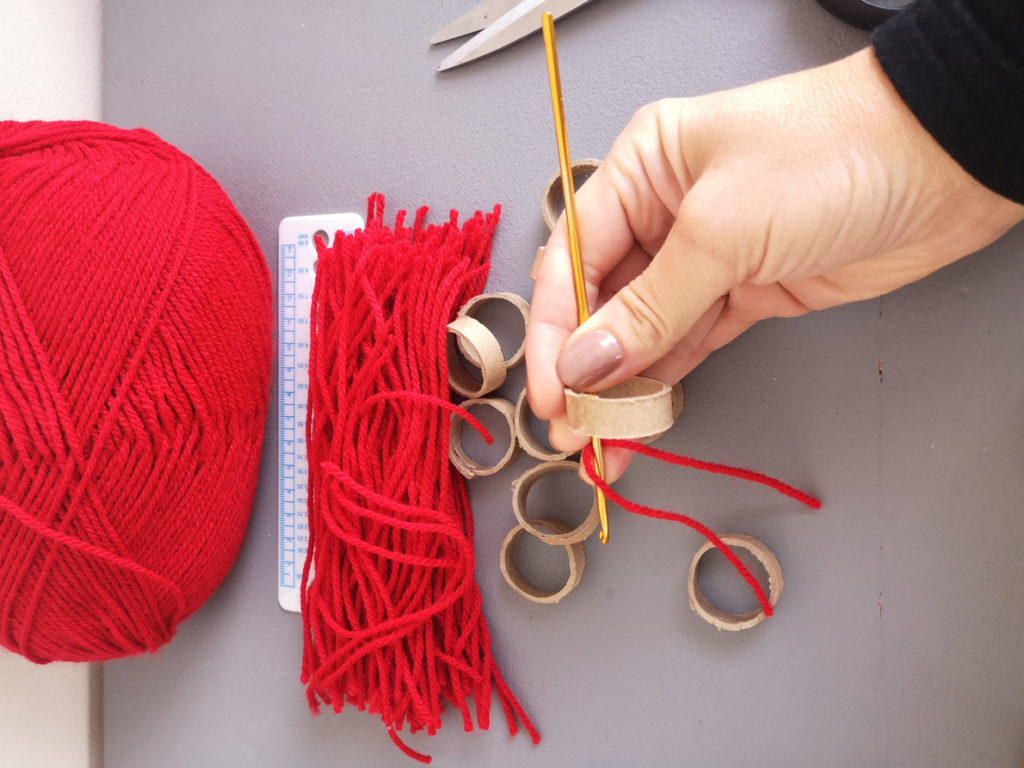
Step 2
Cut the thread into 16-17 cm length braids . The amount necessary for the hat depends on how wide you made you cardboard ring. Also, the more thread braids you will use the bigger the pompom (bobble)!
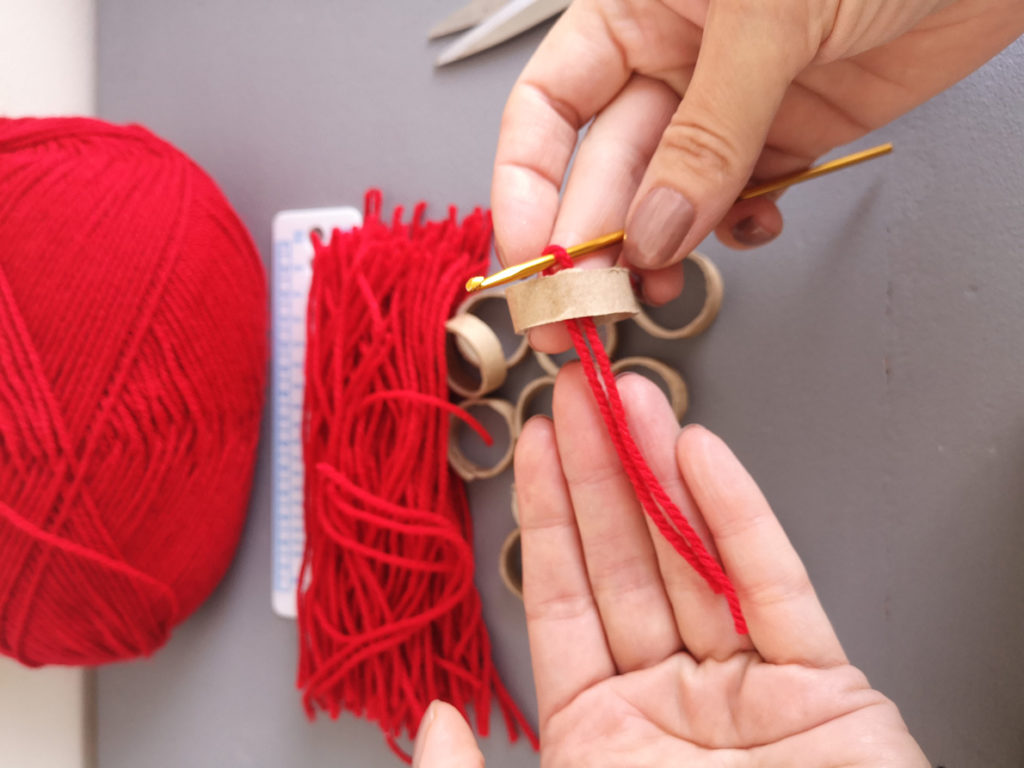
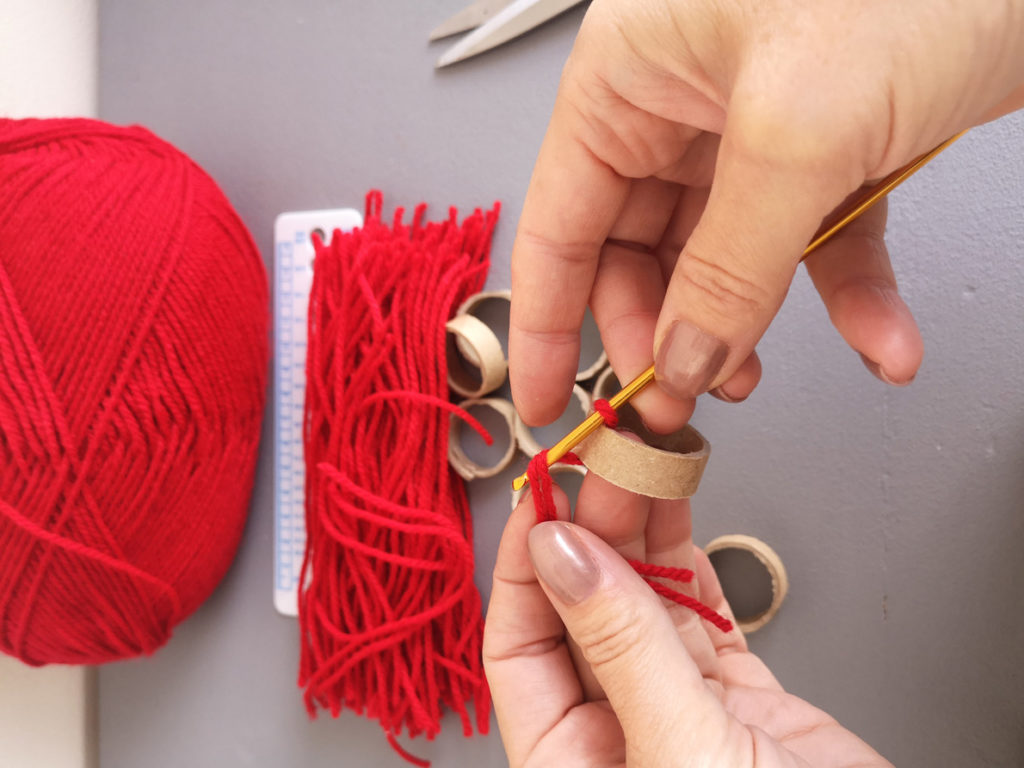
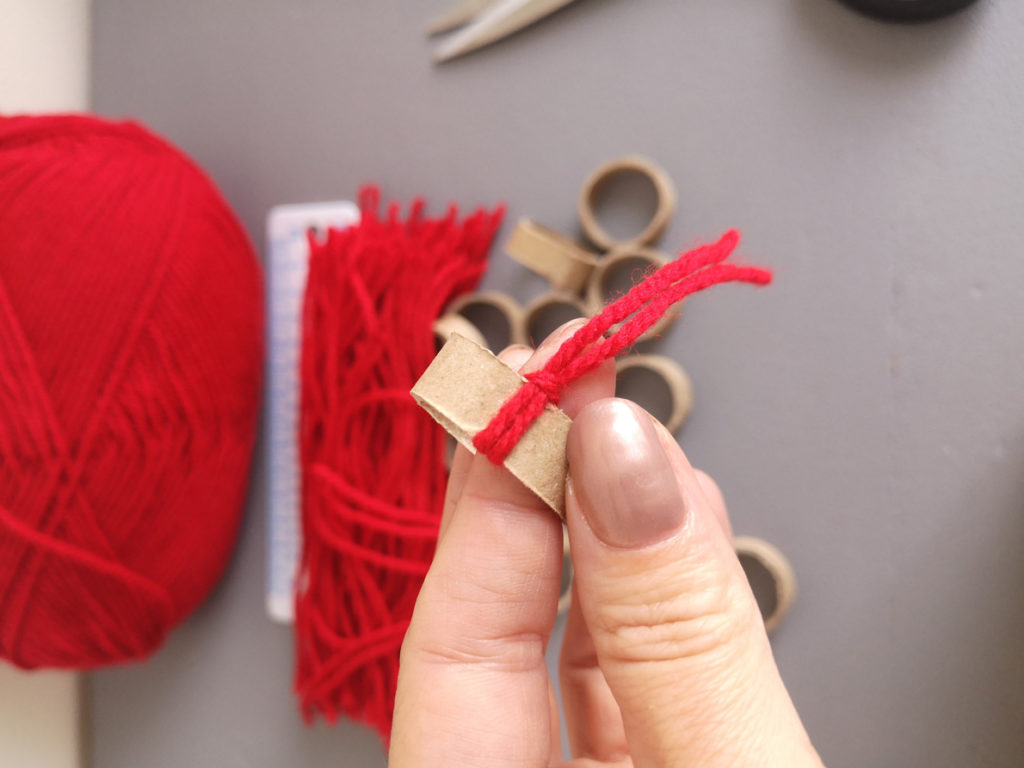
Step 3
Let’s take one ring and begin! As we take the thread braid let’s bend it in half and place it in the inside of the ring with your hook. Then we will use the hook to create a knot with the dangling side of the thread.
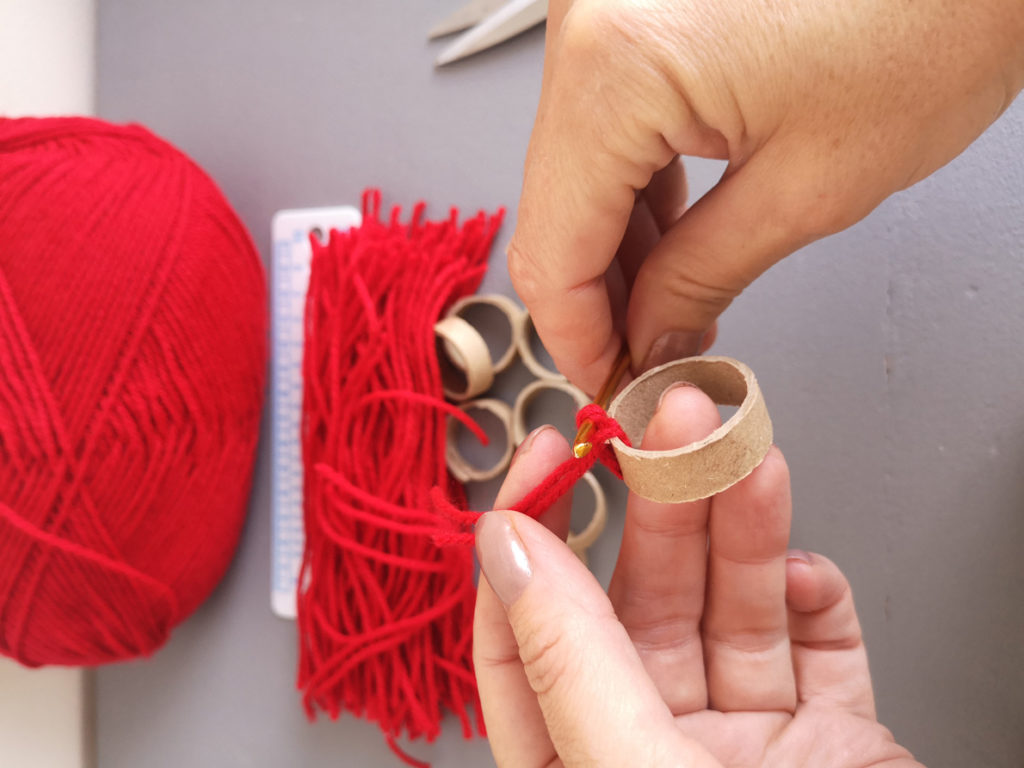
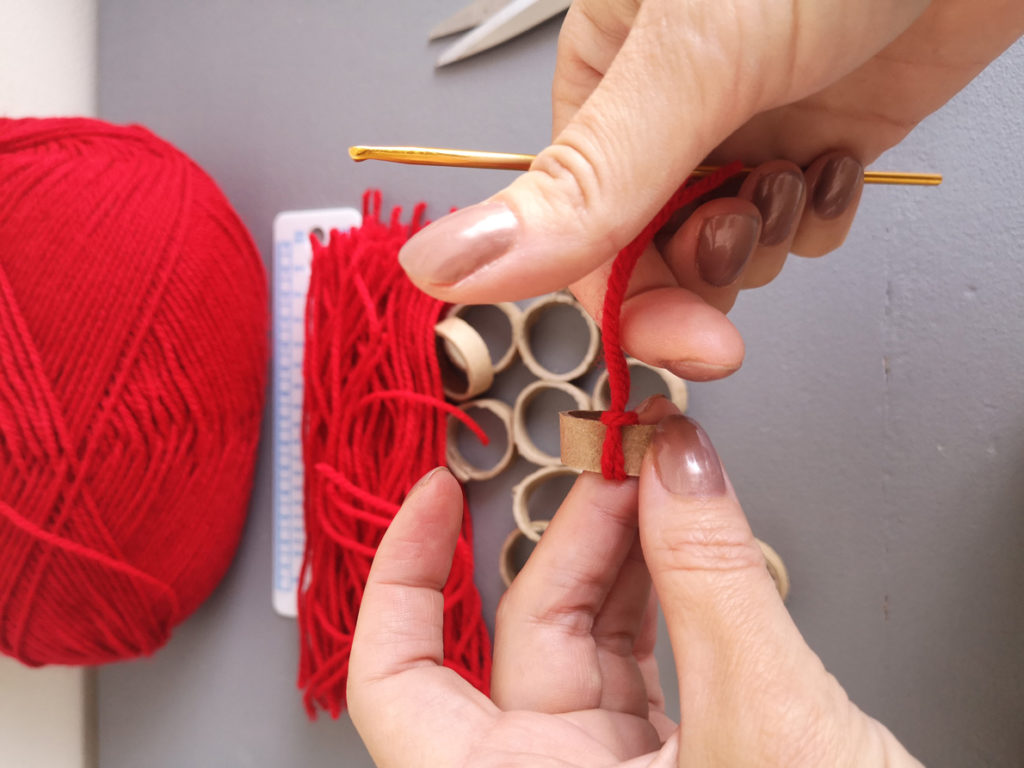
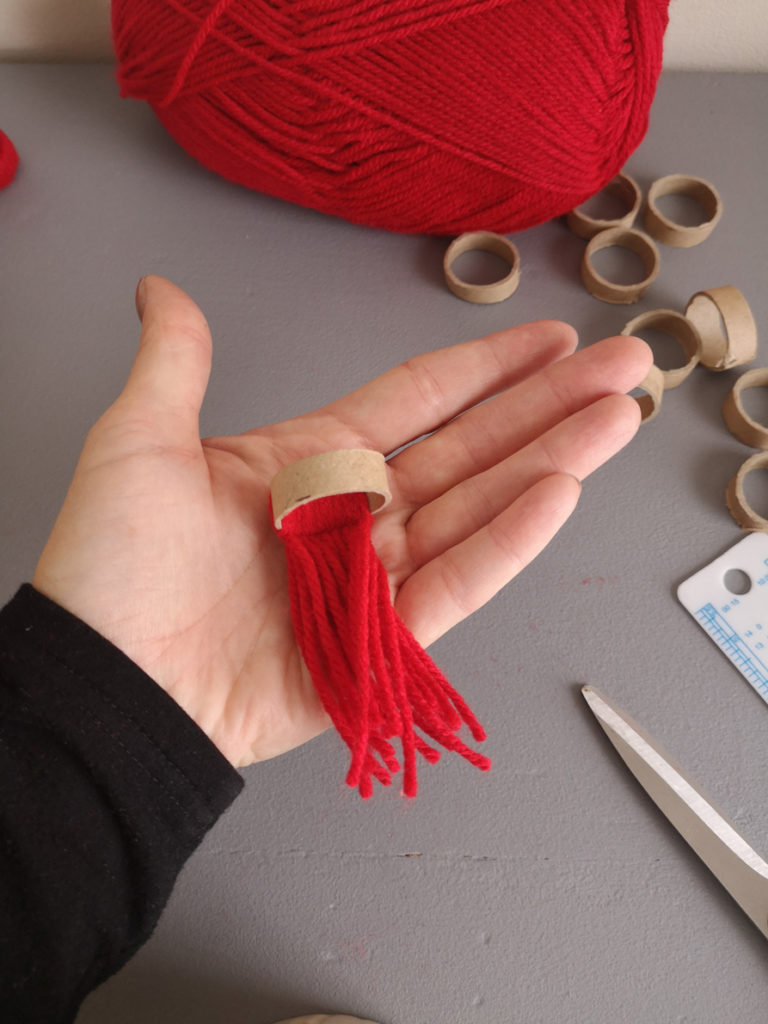
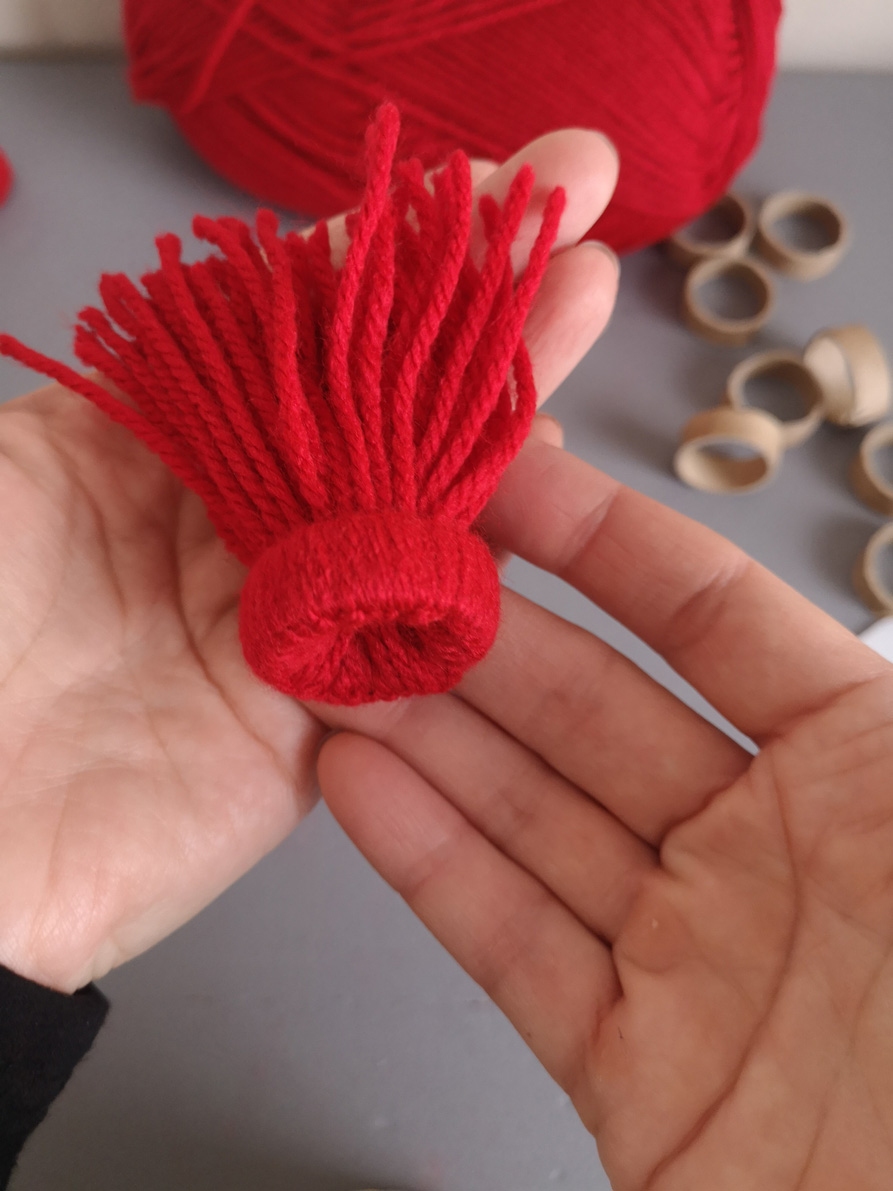
Step 4
Once we crochet all around the ring, the squish the braids through the inside to the other side. Then we nicely comb the threads to make it more even.
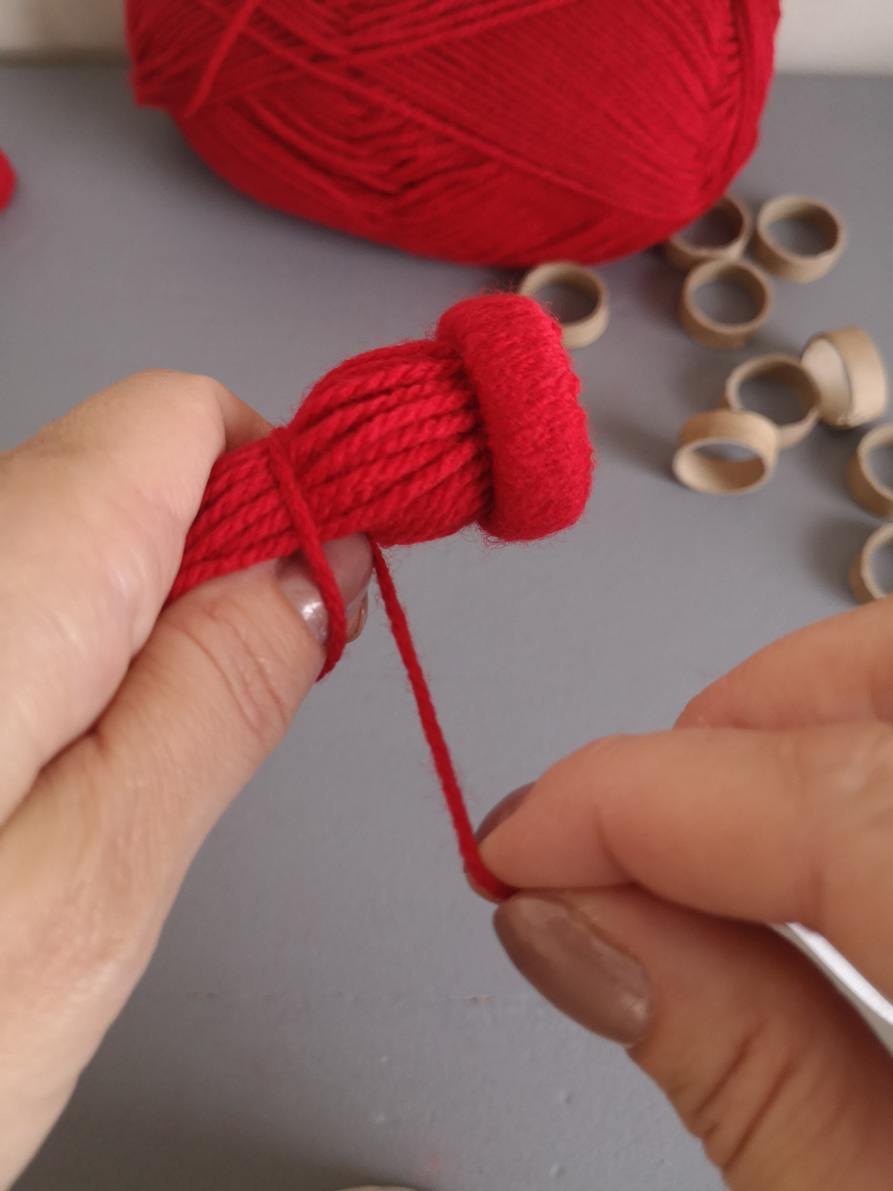
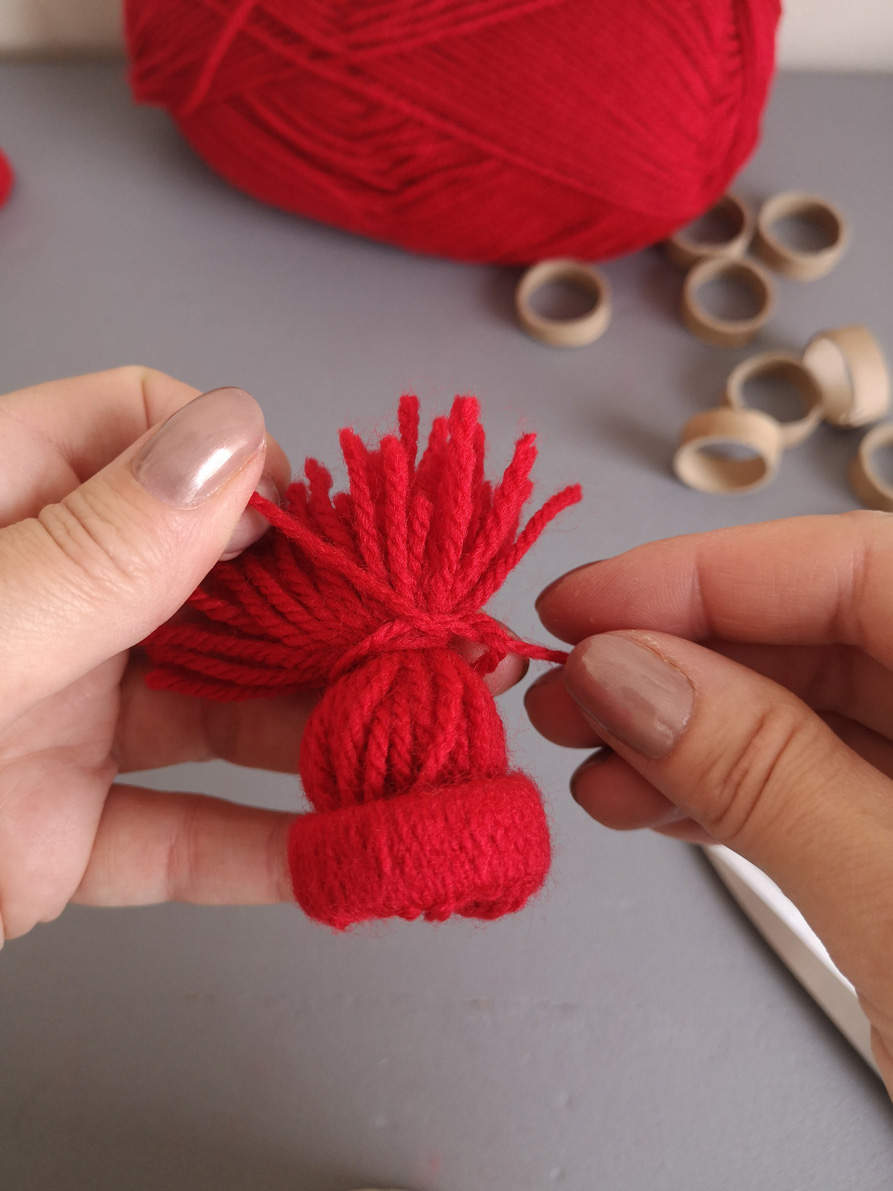
Step 5
Measure around 2cm from the end of braids and tie it up with couple of knots with another piece of thread.
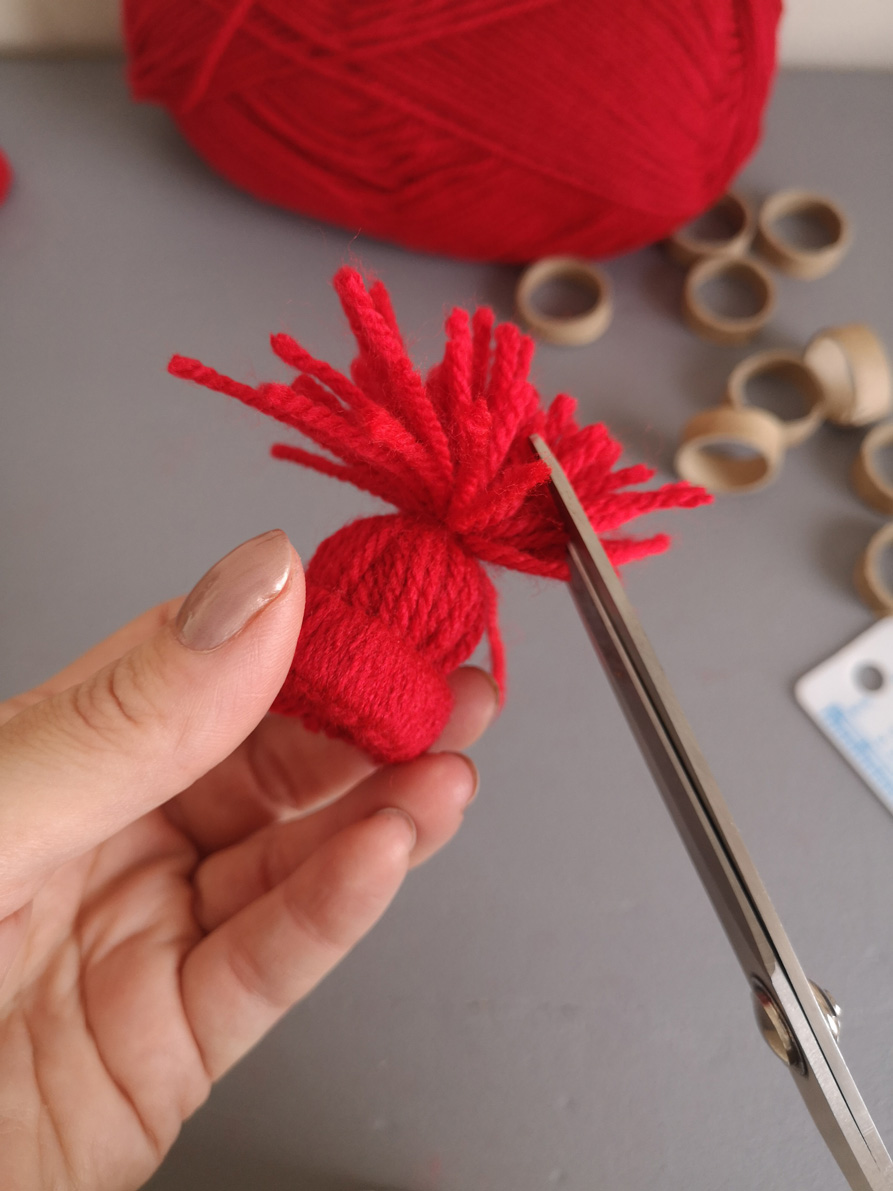
Step 6
Now, we just nicely cut the PomPom around to form a nice looking bobble.
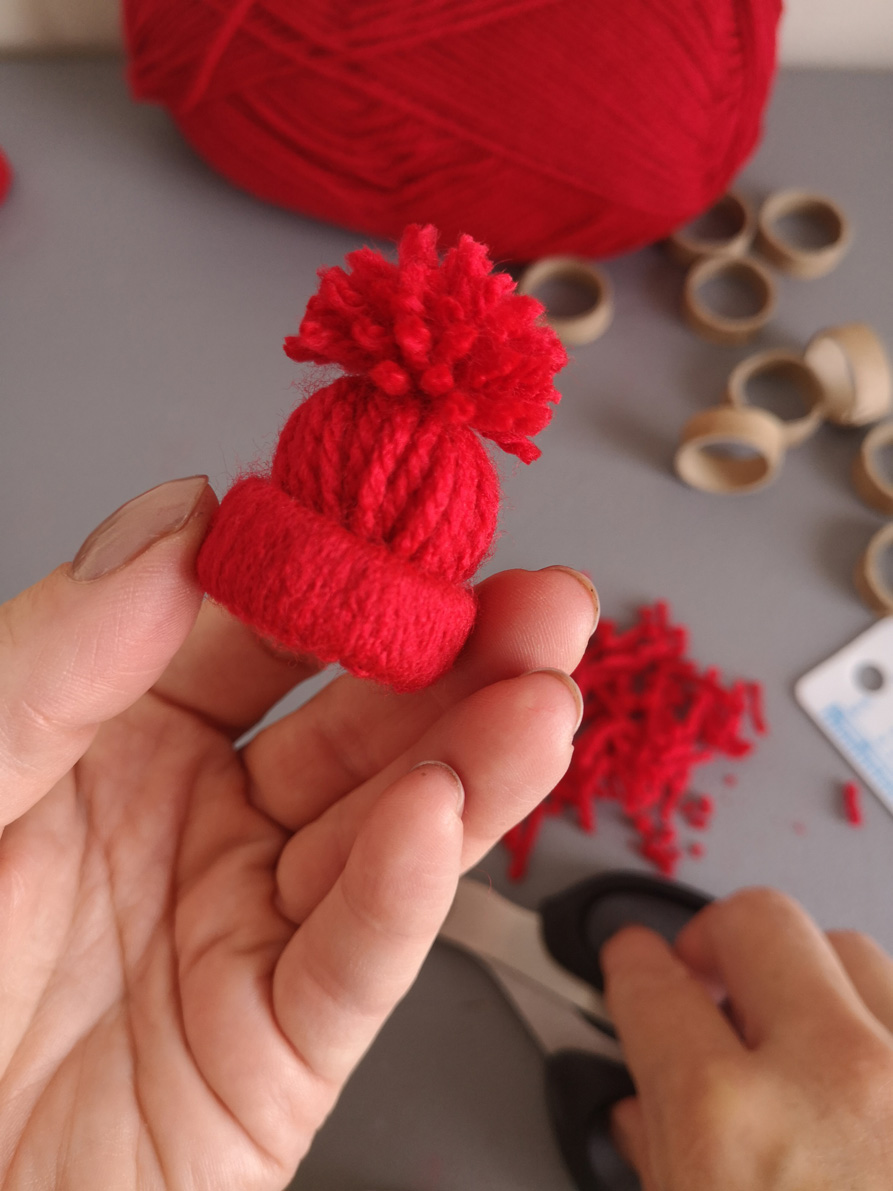
And here we go! Now we have a nicely finished Christmas hat with a lovely PomPom at the top!
Take a look at our walkthrough video, which should make it easy for you to follow.
As always,
With Love, JcCraft ❤️
RECENT POSTS
VIDEO INSTRUCTIONS
JcCraft specialises in crochet handmade accessories, decorations and jewellery for your special occasions and beloved ones.

handmade with love from England’s garden – Kent
© 2024 All rights reserved | JcCraft | Privacy & Cookie Policy